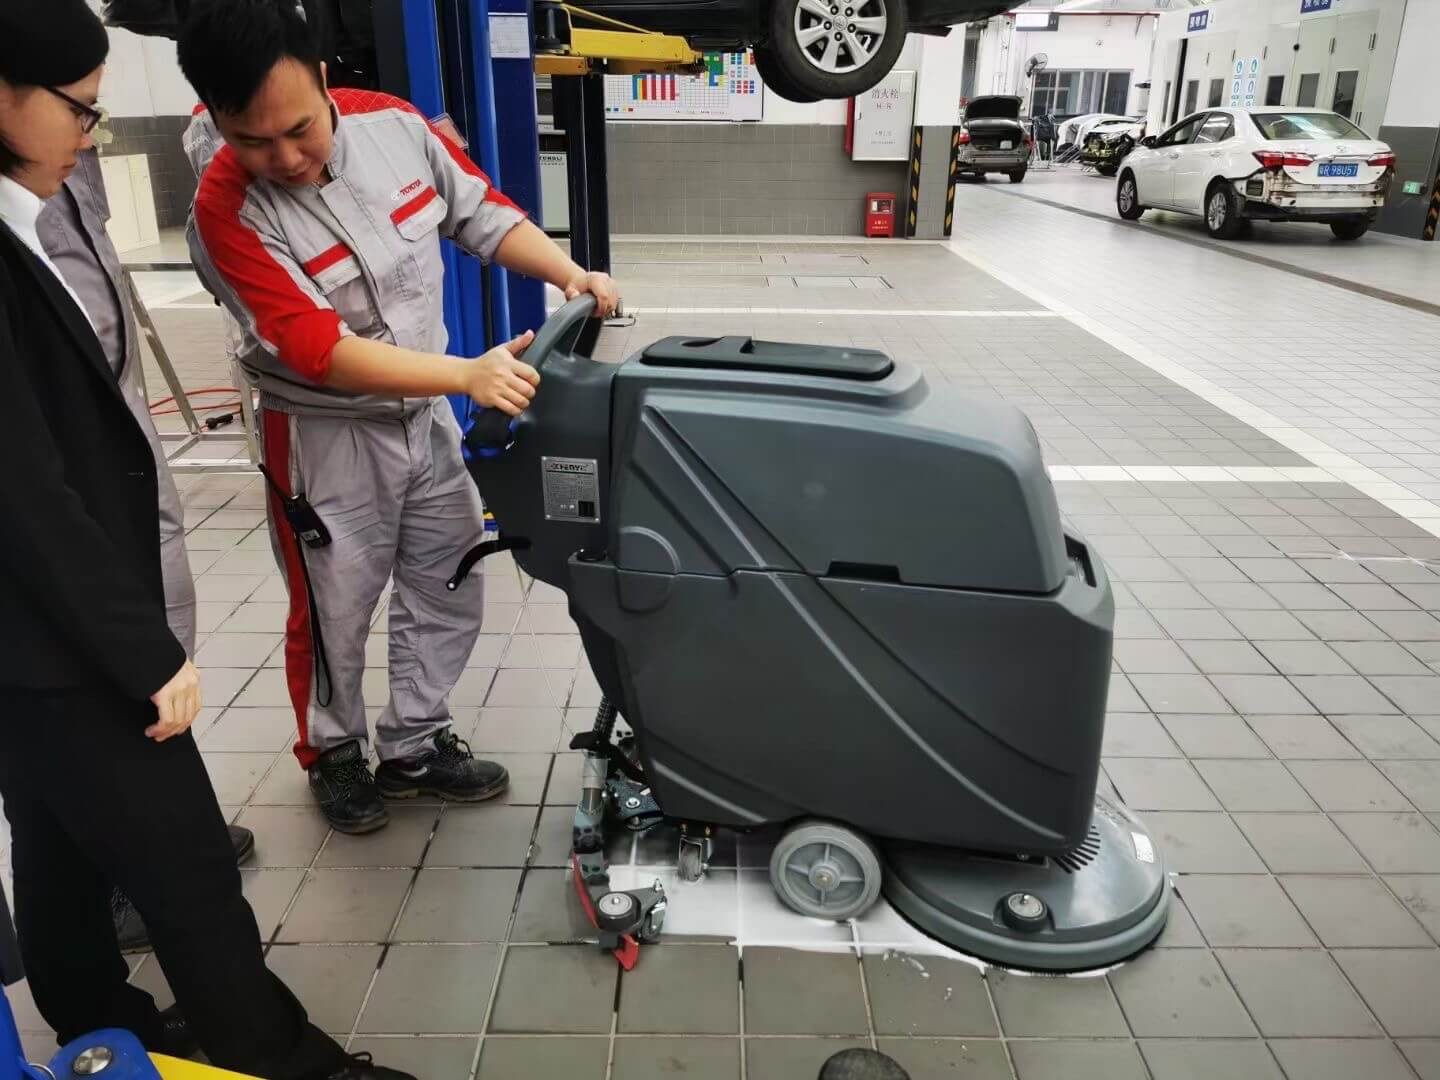
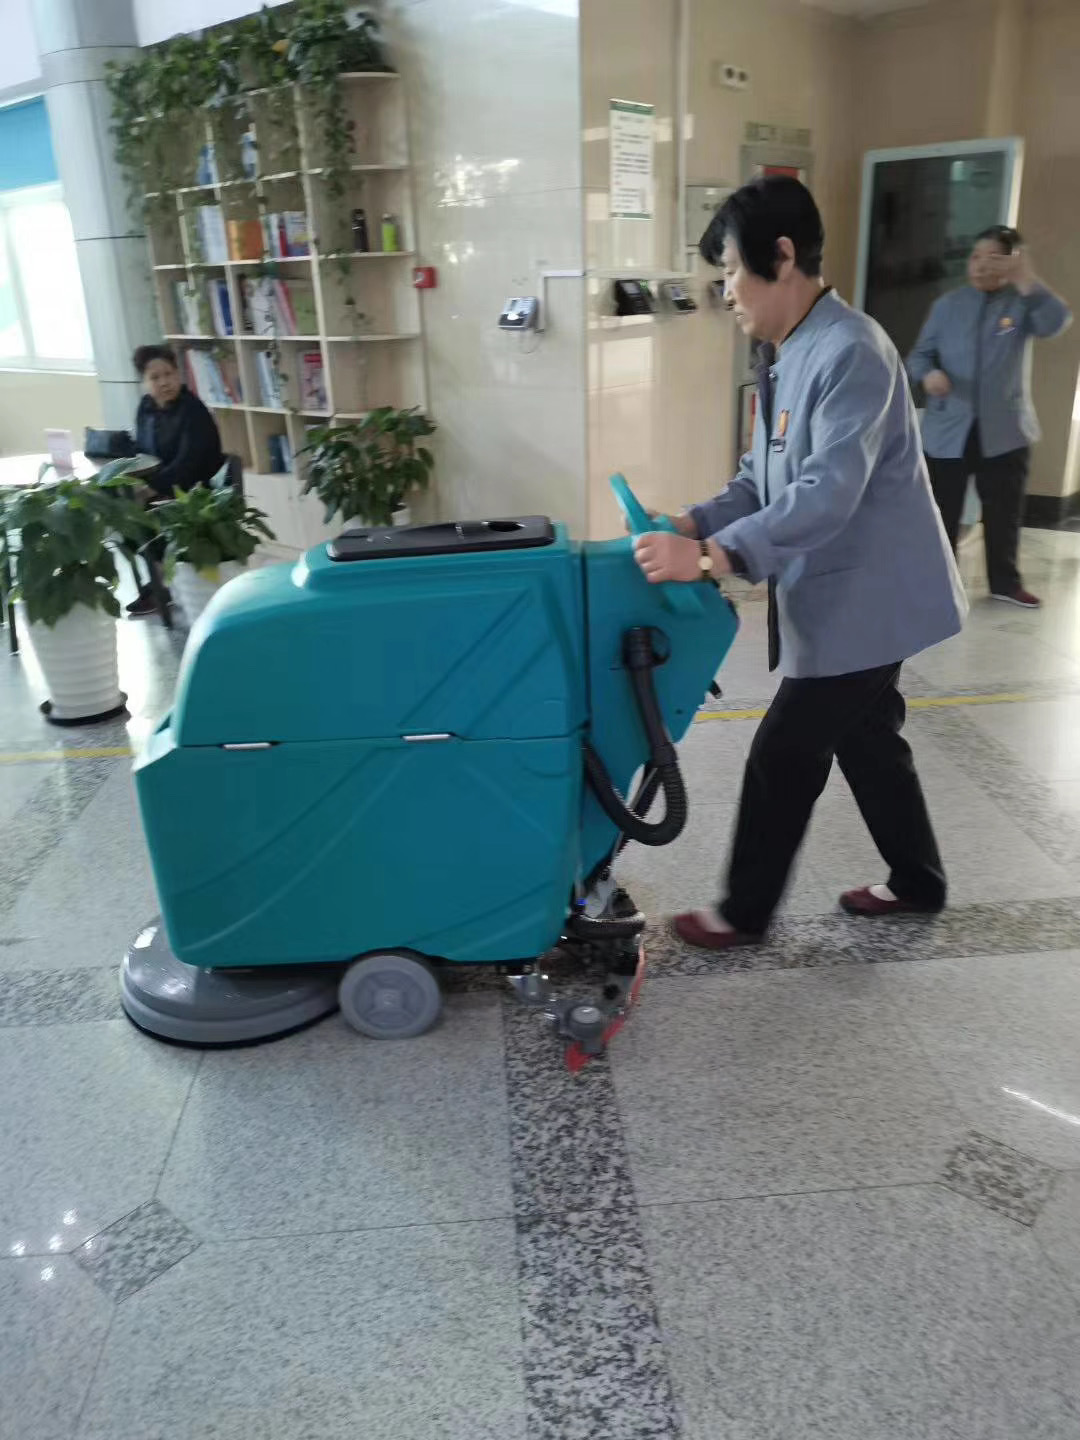
Did you realize your auto scrubber couldn’t leave your floors clean and dry? And why?
You should check your auto scrubber’s squeegee blades. Floor scrubbers have squeegee blades on the back, and sometimes sides, to help funnel water and cleaning solution so the vacuum fan can suck them up as it cleans, leaving your floor clean and dry.
Damaged, wear and tear auto scrubber squeegee blade won’t clean and dry floor as well as expected.
In this post and video, you will get step by step guide to changing the squeegee blade on your auto scrubbers.
How To Change An Auto Scrubber Squeegee Blade To Get Clean, Dry Floors
To change the squeegee blade on an auto scrubber, follow the steps below guide and video:
Step 1: Release the squeegee blade from the housing.
This allows you to inspect all sides of the squeegee and identify which sides are still fresh and usable.
Step 2: Flip the squeegee blade to a fresh side if available.
If all sides have been used, replace the blade with a new one.
Step 3: Reattach the squeegee blade housing to the machine.
Step 4: Tighten the thumbscrews and reconnect the suction hose.
Step 5: Adjust the squeegee blade so that it is level with the floor.
This ensures proper water collection. Most auto scrubbers have adjustment knobs to lift, lower, and level the squeegee blade.
Step 6: Ensure even pressure across the entire length of the blade for adequate moisture pickup.
More Tips:
Tip 1: Clean the squeegee blades of any dirt or debris.
Tip 2: Check for clogs in the squeegee or vacuum system.
Tip 3: Inspect the squeegee suspension system for damage or missing parts.
Tip 4: If you’re using the last usable side of the blade, make a note to order a new squeegee blade.
If you still are unable to correct the issue, Contact us for More Help!

