Do you notice that if you don’t prepare the auto scrubber properly before floor cleaning, several issues can arise that will negatively affect the cleaning process and efficiency? such us Poor water pickup, Ineffective cleaning……
Proper preparation of the auto scrubber is crucial for achieving optimal cleaning results, maintaining the equipment’s longevity, and ensuring safety in the cleaning environment.
This article will step-by-step guide you to prepare the Auto Scrubber well before floor cleaning.
How to prepare the Automatic Scrubber before floor cleaning step by step?
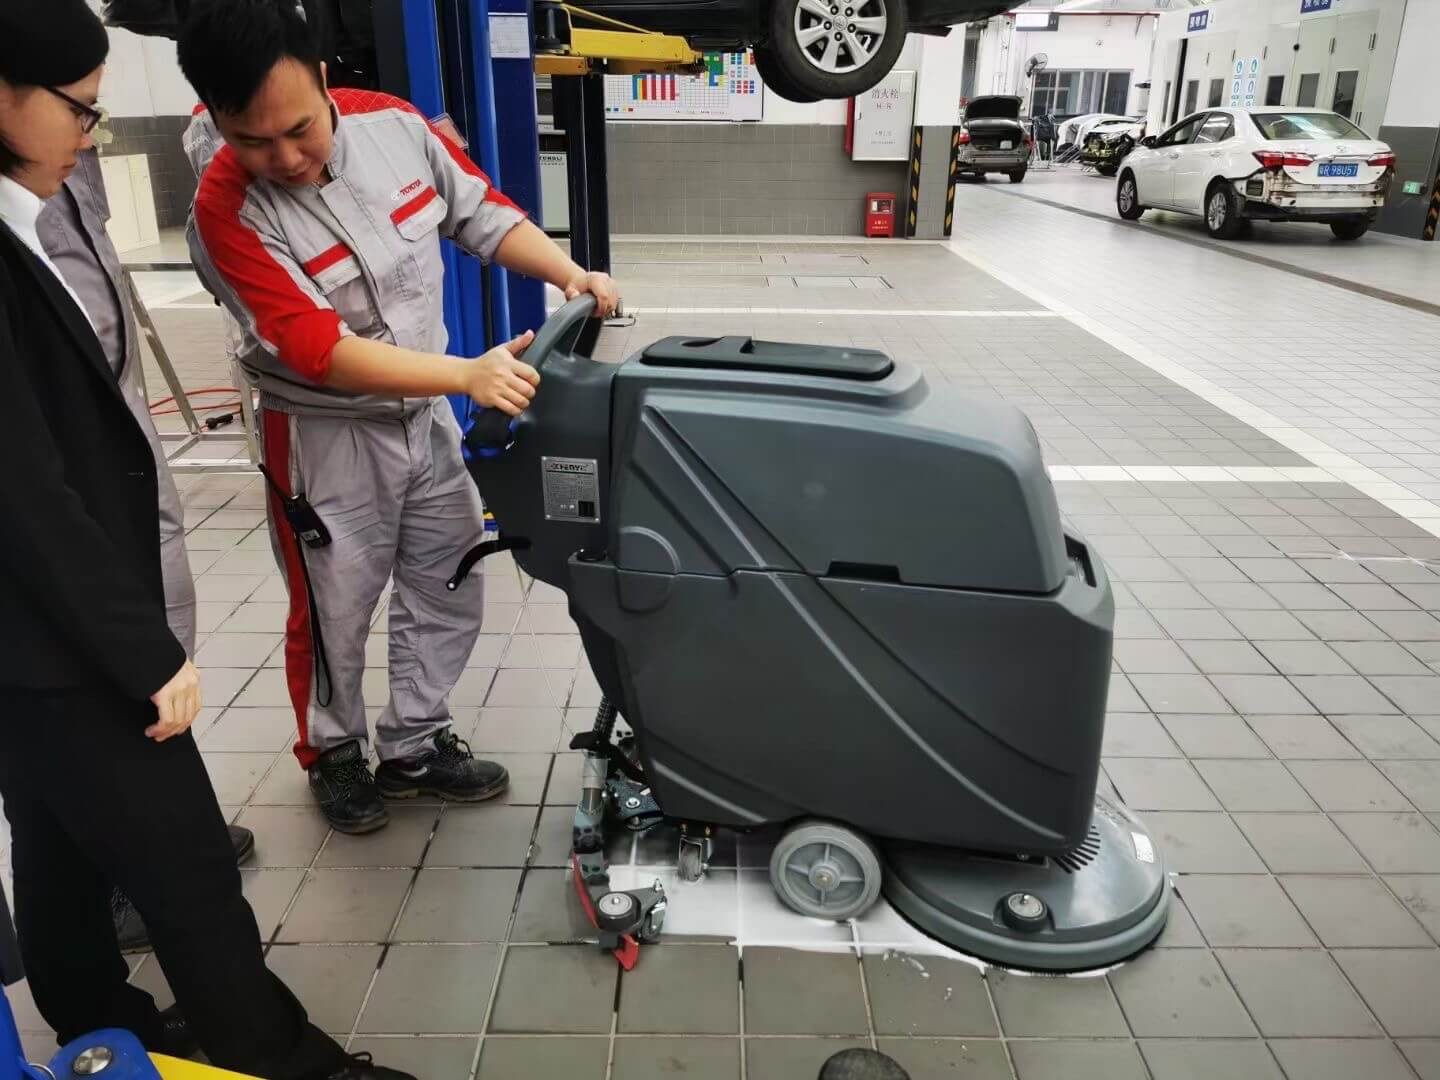
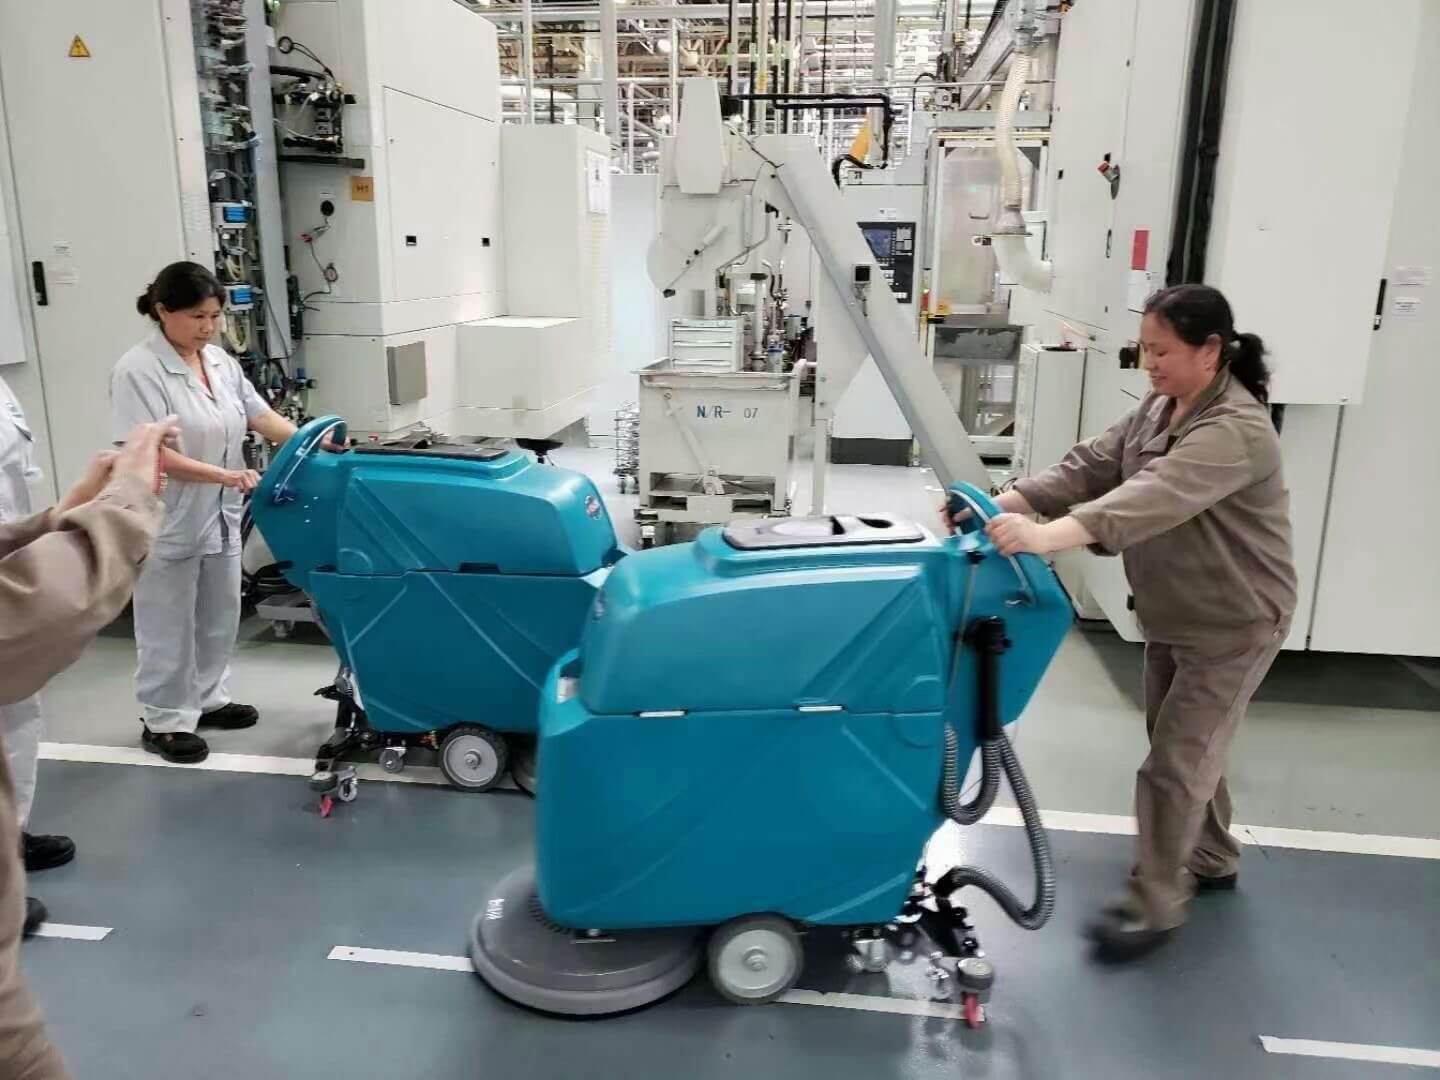
First of first: familiarize Yourself with the Machine
Before using your automatic floor scrubber, it’s important to read through the user manual thoroughly. Familiarize yourself with the parts of the machine, such as the water tank, brush head, and vacuum system. Understanding how the machine works will help you get the best results when cleaning your floors.
Then follow below step by step guides:
Step 1: Check out the scrubber squeegee
1. Visual checking
-Remove the squeegee blade housing by detaching the suction tube and loosening the thumbscrews.
-Inspect the squeegee blade for signs of wear and tear, such as curled edges, tears, or any other damage.
2. Clean the Blade
-Ensure the squeegee blade is clean and free from debris. Dirt or particles stuck under the blade can affect its performance and leave streaks on the floor.
3. Check Blade Alignment
-Verify that the squeegee blade is properly attached and aligned. The blade should be level with the floor when the machine is moving forward. If the tips are too low or too high, it can result in uneven water pickup
4. Test Downward Pressure
-Ensure the squeegee blade has the right amount of downward pressure. Too little pressure won’t seal with the floor, while too much pressure can cause the blade to fold under.
5. Flip or Replace the Blade
-If the blade shows signs of wear, flip it to a fresh side if available. If all sides are worn, replace the blade with a new one.
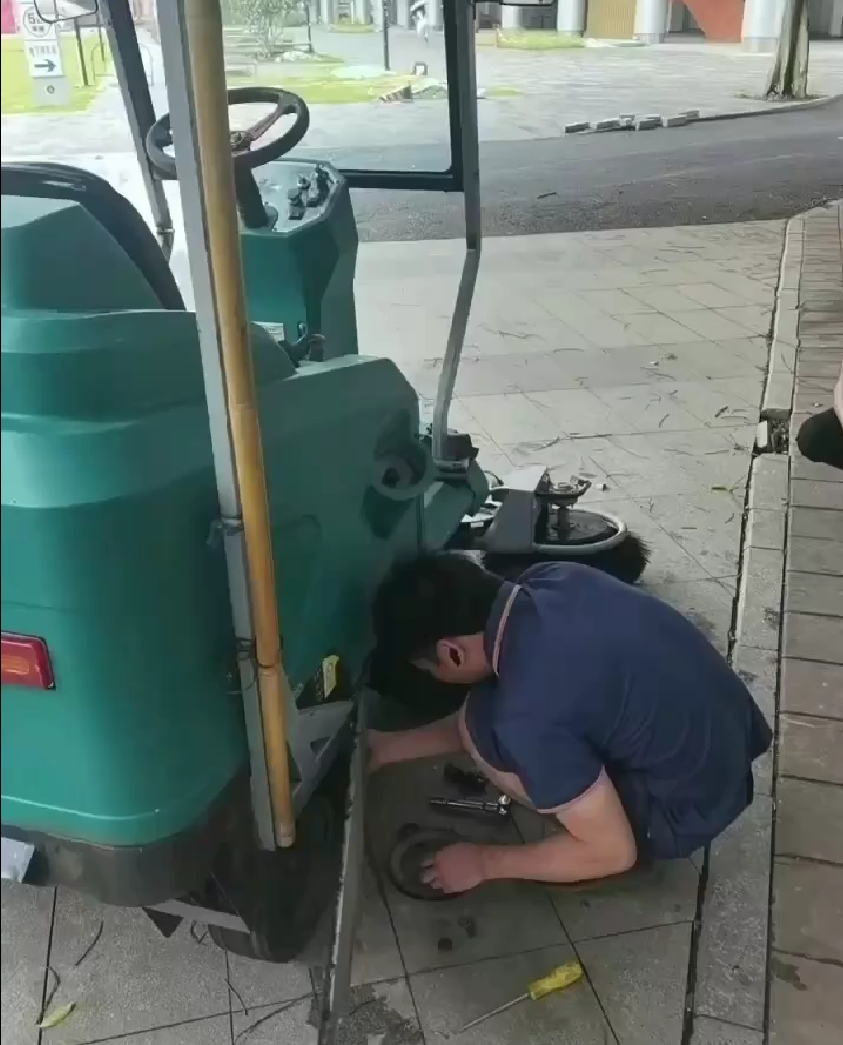
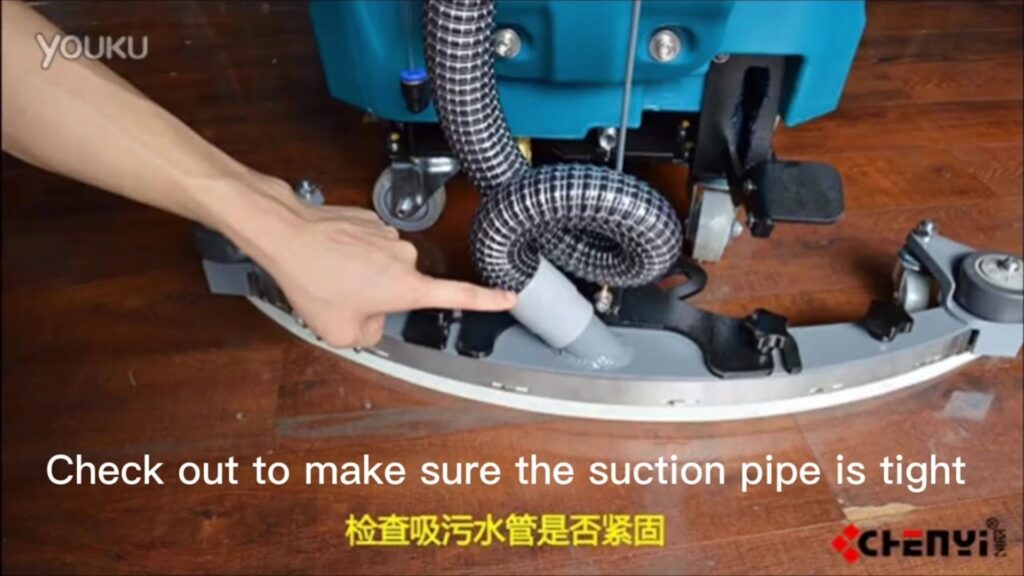
Step 2: Inspect Vacuum System
-Check for any air leaks in the vacuum system, damaged hoses, or issues with the recovery tank seal. These can affect the squeegee’s performance.

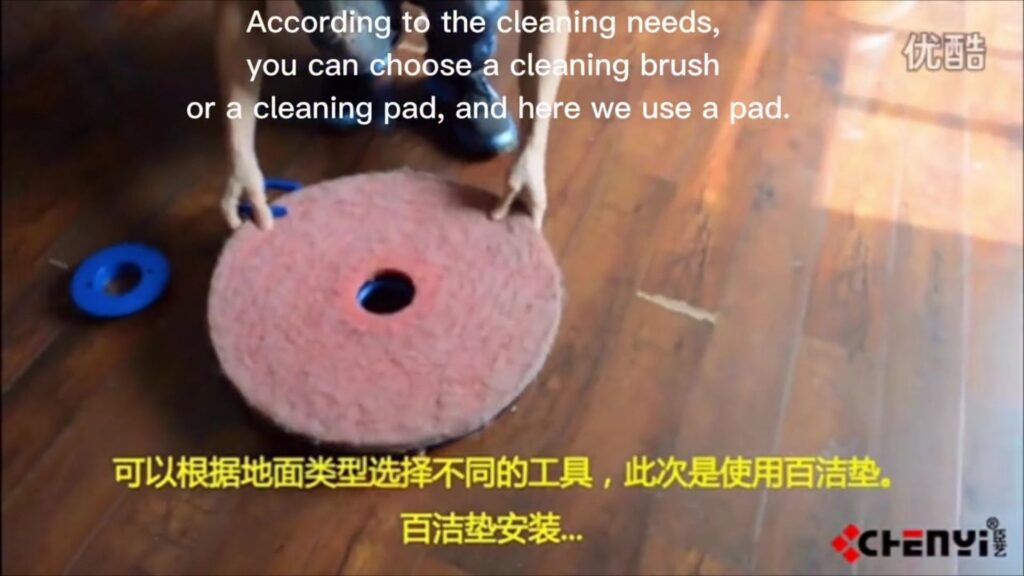
Step 3: Choose the correct pad or brush
You should choose the correct pad or brush. Pads are better for smooth surfaces, and brushes are better for uneven floors with grout lines.
You should use a less aggressive pad, such as a white or red pad on high gloss floors, which would include finished (waxed) floors and marble floors. and an aggressive pad such as brown or black would be used on concrete floors.
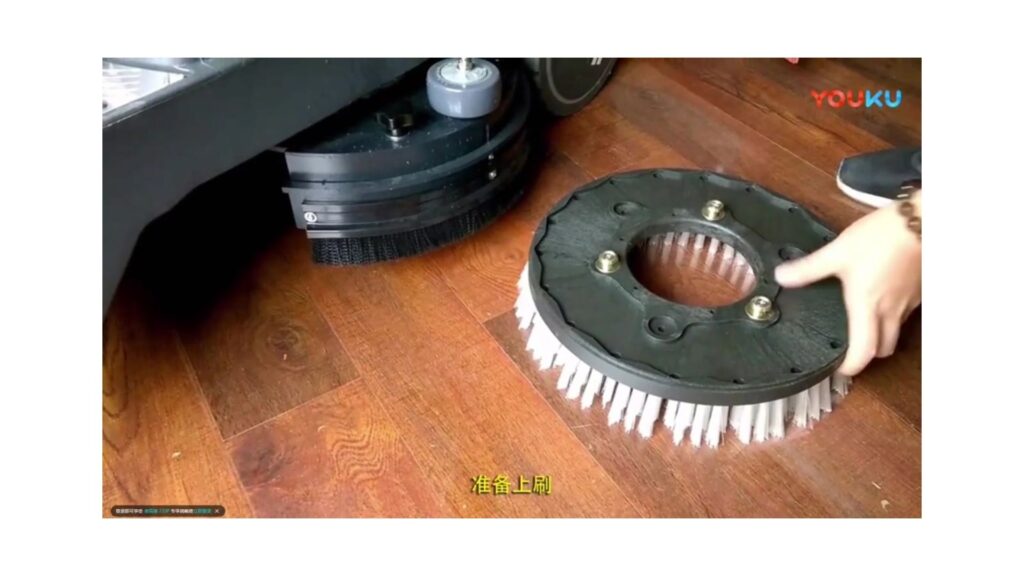
choose correct auto scrubber’s pad
Step 4: Fill the solution tank
Fill the solution tank on your auto scubber. Use the cleaning solution and the concentration specified by the manufacturer of your specific floor scrubber.

Tip for Chemical and defoamer:
Every floor scrubber model comes with a set of instructions on the right amount of chemical to be used.
–A neutral cleaning solution should be used on finished (waxed) floors and marble floors.
–A heavy-duty de-greaser can be used in industrial plants and warehouses with concrete floors.
–Defoamer
Put a small amount (just a few ounces) of a defoamer on the ground, and suck it up with the squeegees to coat the squeegee assembly, recovery hoses, and recovery tank. This defoamer will then help to break down the foam from the recovered cleaning solution throughout the entire recovery process.
Not only will this allow you to recover more solution, but it will also help to extend the life of the vacuum motor on your machine.
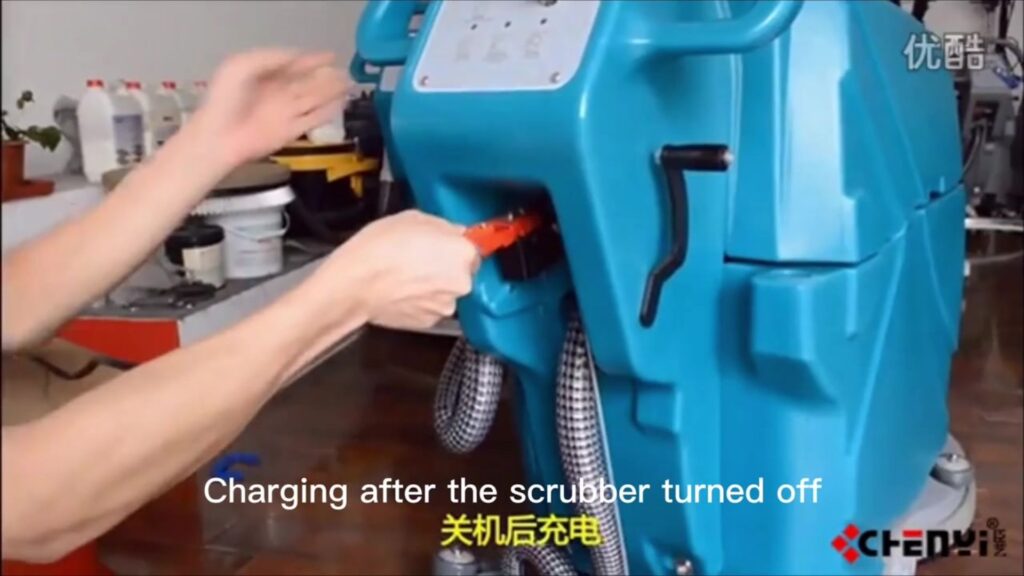
Step 5: Fully charge the floor scrubber
First, make sure the battery wires are properly and firmly connected.

Second, fully charge the floor scrubber
most auto floor scrubbers will run between 2 ½ to 4 hours on a full charge. While that may sound like a short time, if you prepare the area to be cleaned, you should be able to clean between 50,000 to 70,000 sq. ft. with a single charge. It may take 6 to 8 hours to fully charge again for the next usage.
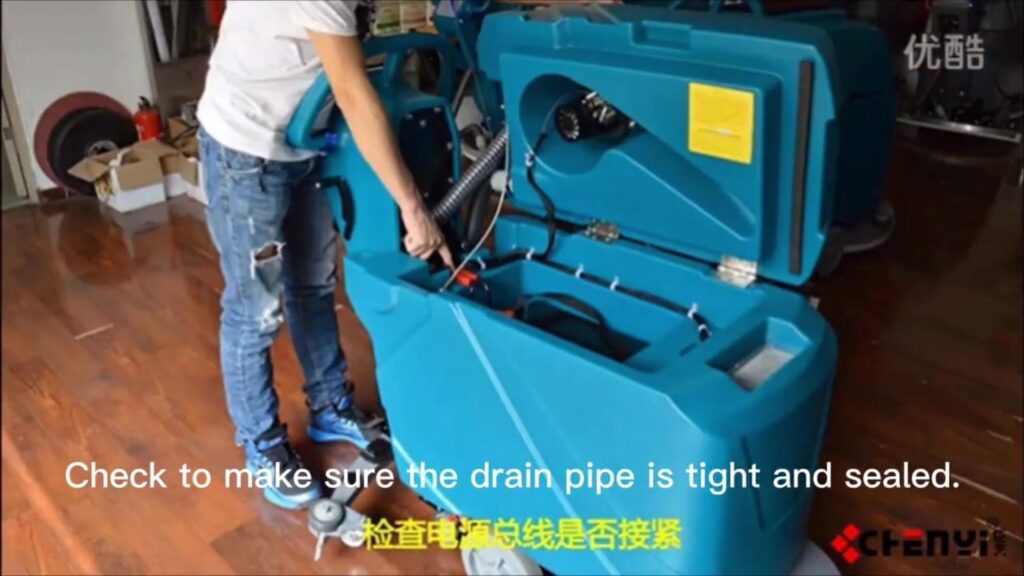
Step 6: Connect all hoses
Also make sure that all of the hoses are connected to the device, as is the squeegee.

Step 7: Check for leaks/damages
Get any leaks/damages repaired before you use your floor scrubber.
Conclusion:
To achieving optimal cleaning results, maintaining the equipment’s longevity, and ensuring safety in the cleaning environment, it is crucial to get proper preparation of the auto scrubber done.
To check out an auto scrubber before scrubbing floor, follow these steps:
Step 1: familiarize Yourself with the Machine
Step 2: Make sure the scrubber squeegee are attached and in good condition.
Step 3: Inspect Vacuum System
Step 4: Choose the correct pad or brush
Step 5: Fill the solution tank with correct amount of chemical
Step 6: Fully charge the floor scrubber
Step 7: Connect all hoses
Step 8: Check for leaks/damages