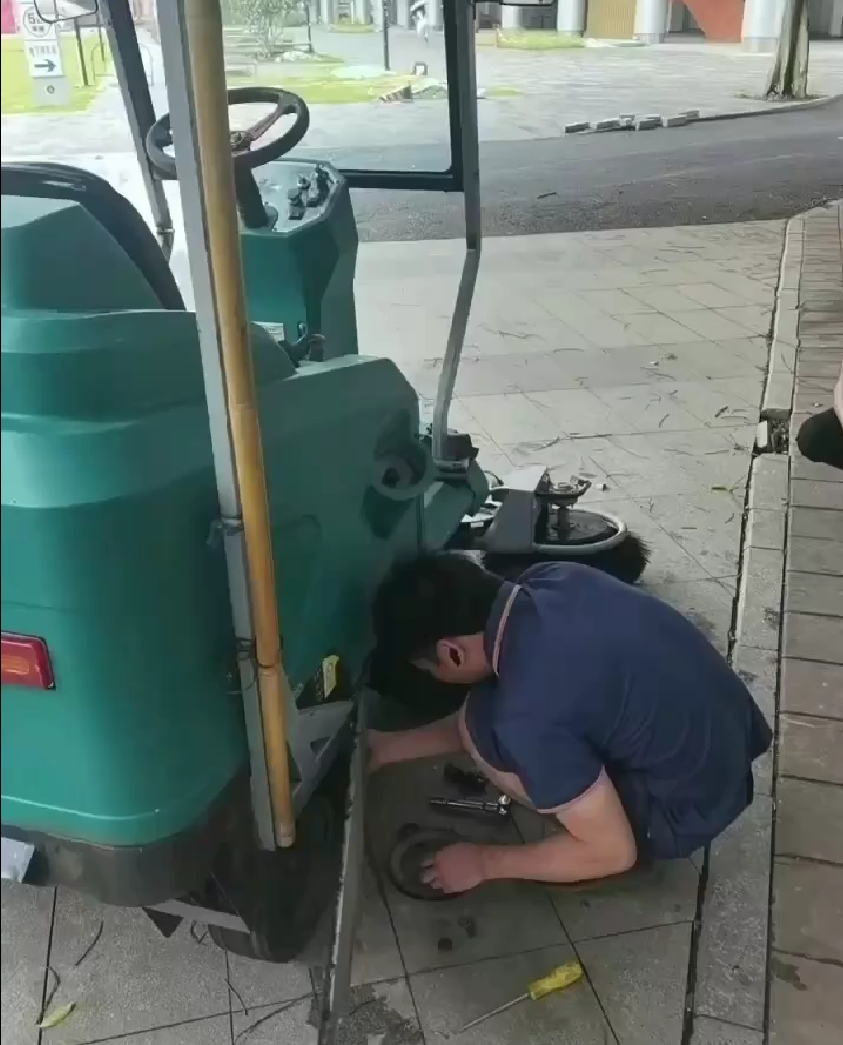
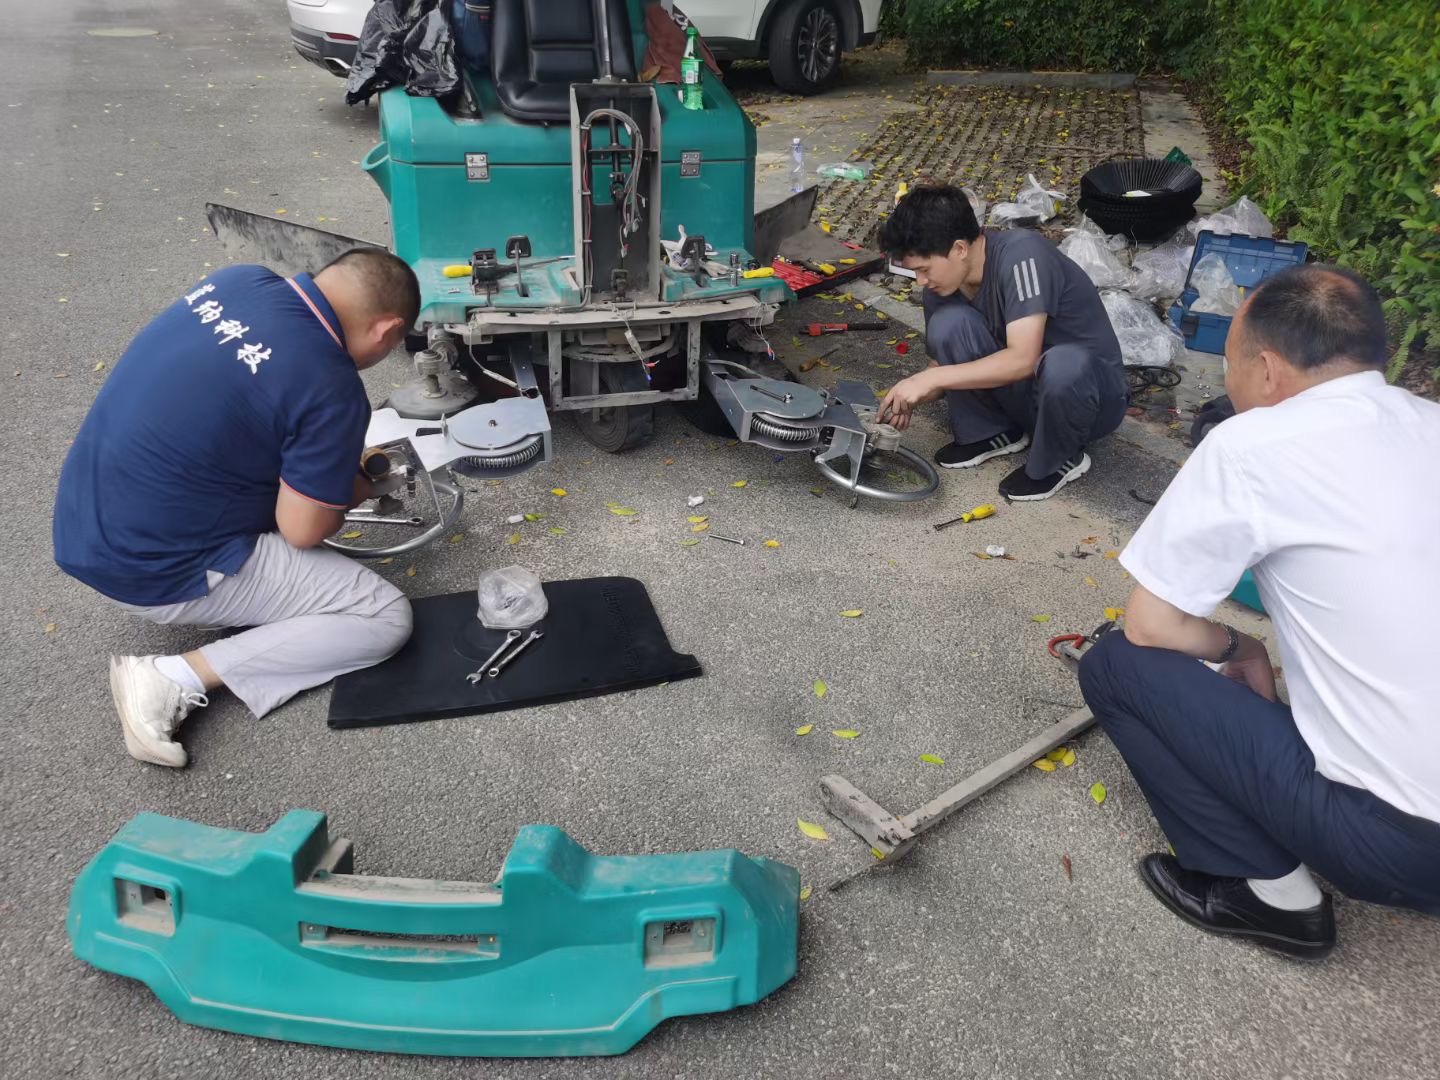
Is it necessary to change the pad or brush on an auto scrubber? Indeed, if they are getting worn or damaged, you should change them in time to reduce the risk of damaged floors.
How to change an Auto Scrubber Pad or Brush?
If your auto scrubbers are designed with an automatic change pad or brush, you could follow the below steps:
To Install the Pad or Brush
Step 1: Secure the Pad
Attach the pad to the holder, and make sure it’s firmly in place.
Step 2: Place the Pad Holder
Position the pad holder under the brush tray, ensuring it’s aligned correctly.
Video Guide to Change walk behind scrubber‘s pad
Step 3: Automatic Installation by Press the Pad/Brush Button
Press the pad/brush button. The machine will automatically install the pad or brush.
Video Guide to install walk behind auto scrubber’s pad
To Uninstall the Pad or Brush:
Step 1: Press the Pad/Brush Button Again
While the machine is on, press the pad/brush button once more.
Step 2: Automatic Uninstallation
The machine will automatically uninstall the pad.
Video Guide to uninstall walk behind auto scrubber’s pad
If your auto scrubbers need to manually change the pad or brush, you could refer to below video guides:

Conclustion:
Properly Install the pad or brush on your auto scrubber will help you achieve clean floors and improve worker productivity.
If you need any more help or have other questions, feel free to ask!


