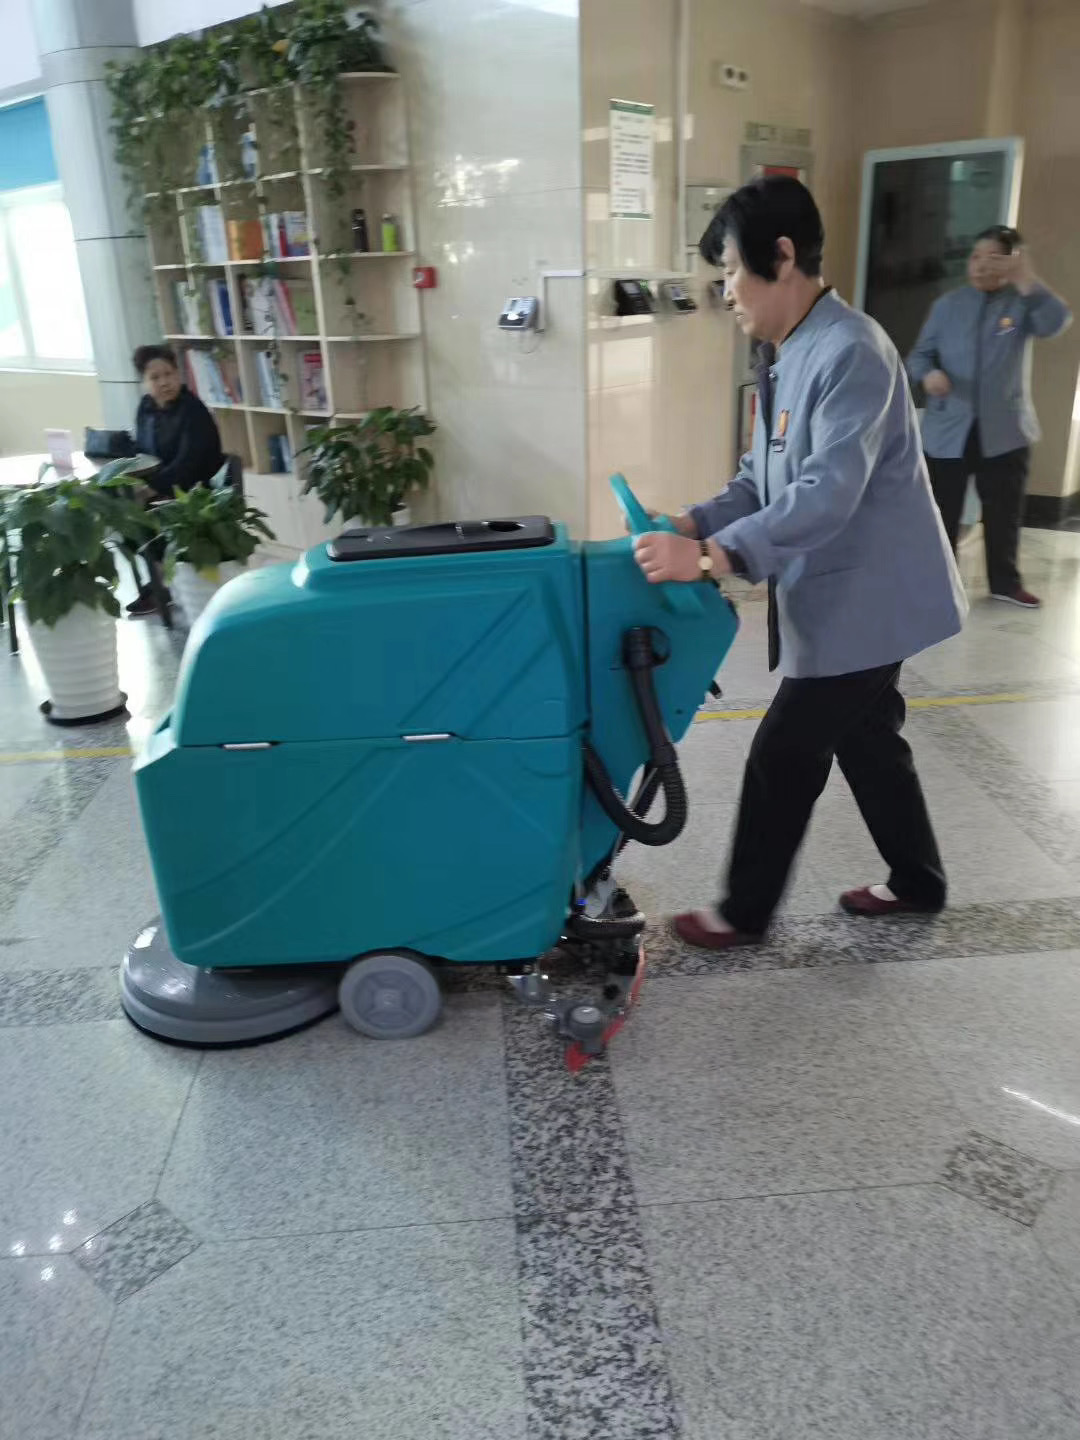
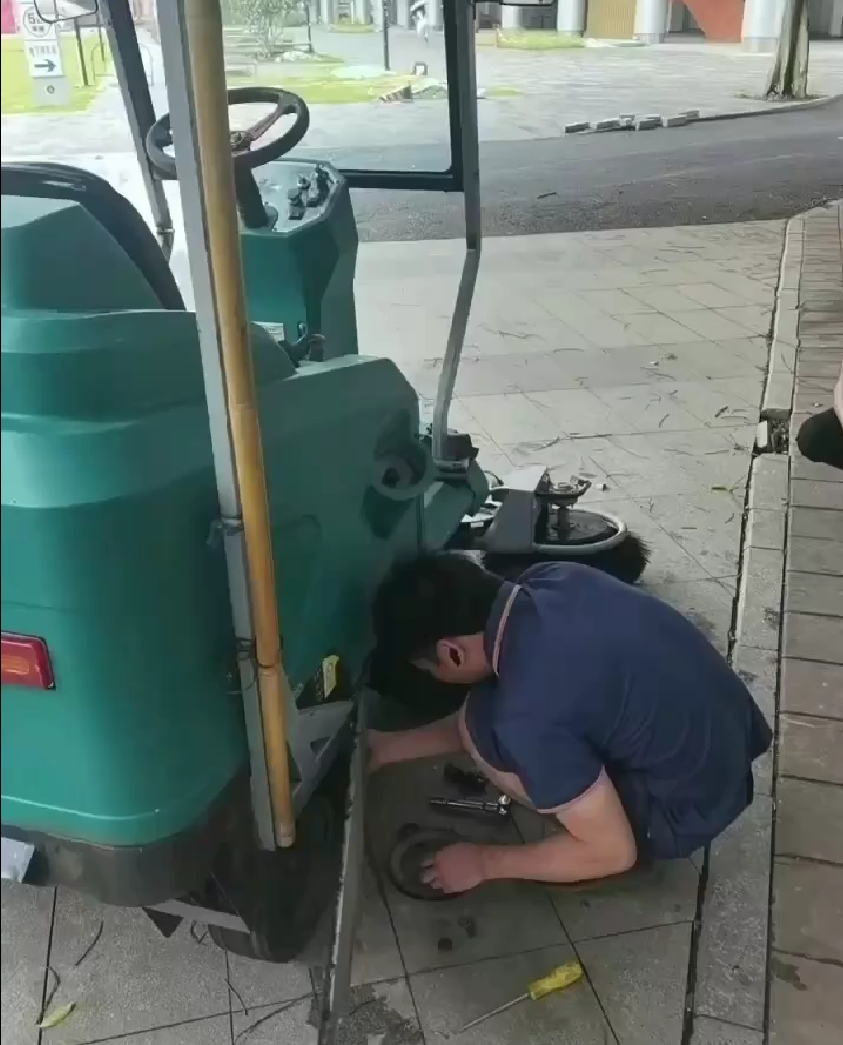
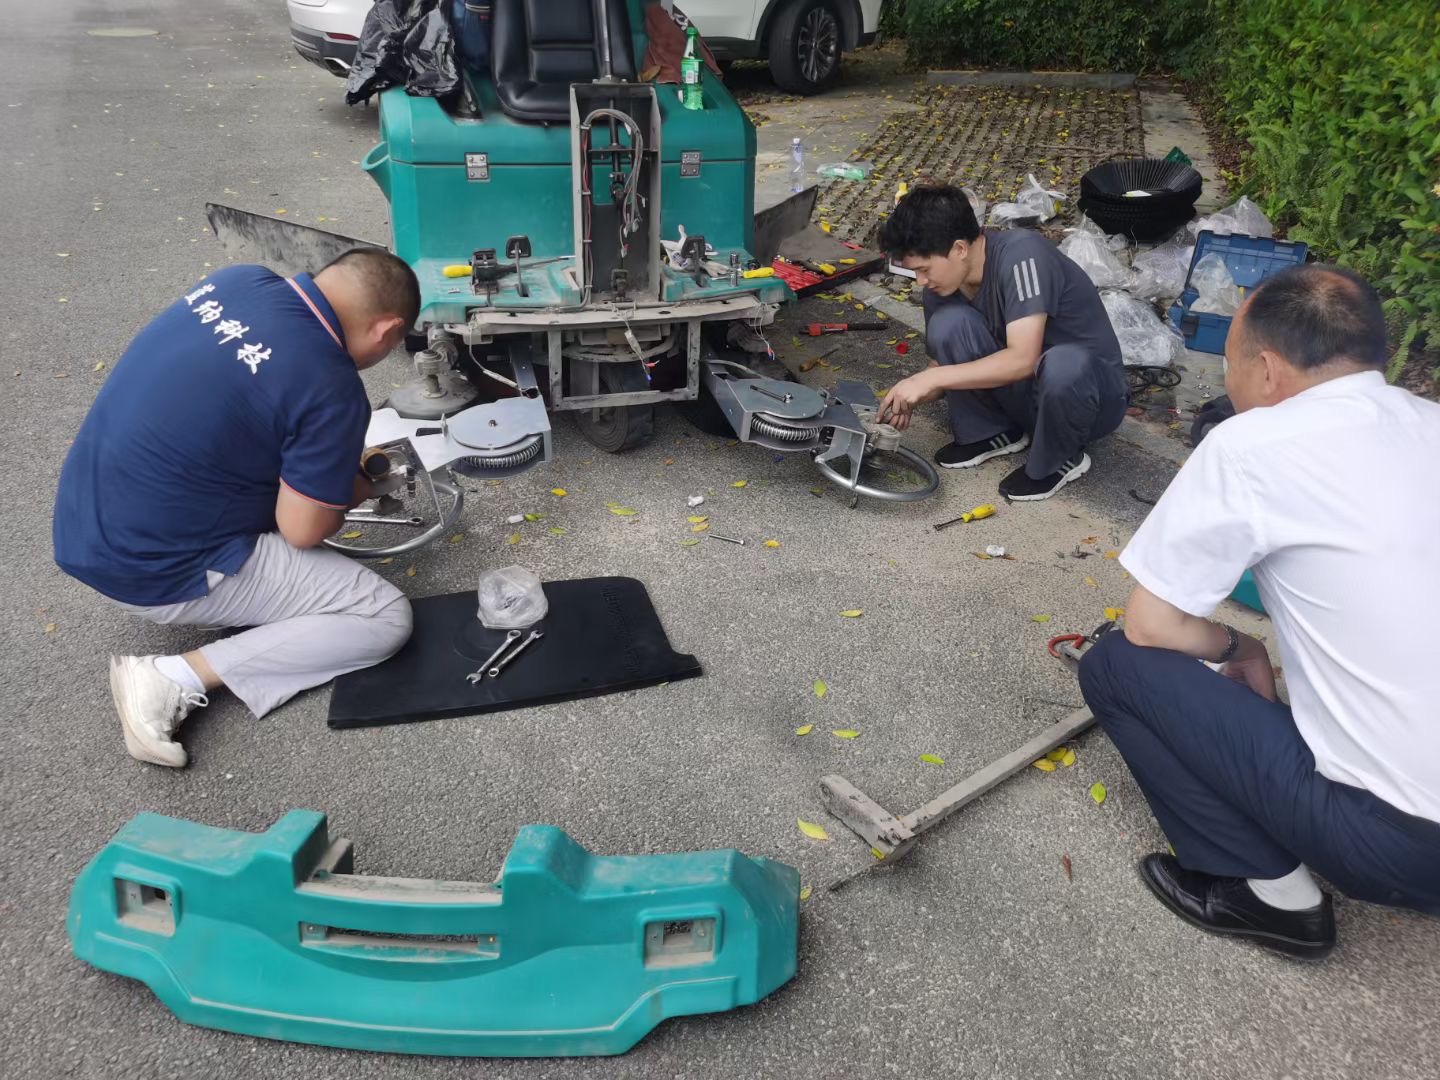
After Using Your Machine Following each floor cleaning procedure, the maintenance steps below should be performed to lower maintenance costs, reduce potential damage, and help you get the most life out of your machine.
Let the squeegee vacuum run with the squeegee down to an empty hose.
(The unit may leak a bit after vacuum shutoff, as there may still be recovery liquid in the hoses. Shut off brushes, shut off solution pump and turn downflow lever (if equipped), raise squeegee to park position, and shut off vacuum last.
Charge the Batteries
· Keep in mind that the machine can not be plugged into an onboard battery charger when running. Be careful not to overcharge the batteries or opportunity charge.
· Every time your machine has been used for 30 minutes or more, you need to recharge the battery. This will mean your scrubber is ready to go the next time you need it. Does your machine use a deep-cycle battery? Then, also make sure its water level is correct. And you’re done. It’s that easy! Simply follow these maintenance tips to keep your industrial floor scrubber in optimal condition for longer.
Pro Tip:
Opportunity charging is charging your batteries before they reach their minimum charge.
Only charge batteries after completion of the whole cleaning procedure or when the batteries have less than the recommended charge capacity which is typically 20%. For example, if a battery has a three-hour run time, and you are done using the machine after 30-40 minutes it can be safely charged without damaging the battery.
It takes around 8 hours to charge an industrial floor scrubber.
The last thing you want to do is get ready to use your equipment only to have to wait for hours to use it because it is low on charge. Go ahead and plug it in as soon as you’ve finished using it. This will give it time to charge before you need it again.
Once the batteries are fully discharged, recharge in a well-ventilated area – typically this is done overnight. Correct battery maintenance is a topic in itself, but it’s important to avoid opportune charging the batteries (using them for short periods and recharging them for short periods) as this will severely impair the battery life.
Move the machine to the charging station, connect the charger to the wall outlet, and then connect to the battery connector (if equipped). Some machines do all the connecting etc. themselves and disable unit operation automatically by simply plugging into a wall outlet. Leave the unit connected until the next use, 4 -24 hours, and the charger will automatically run its cycle and turn off.
Inspect Drain/Hose for Clogs or Leaks.
There should be no debris or cracks in the drain hose or main vacuum hose. Leftover debris should be removed from the drain and vacuum hose. To backflush the vacuum hose, find the port inside the tank and flush it with clean water. This should dislodge any debris.
If there are noticeable cracks or leaks, the hose will need to be replaced.
Check Debris Tray
Most automatic floor scrubbers have a debris capture tray built in. The debris tray is meant to hold smaller items, like wrappers, wood chips, or food particles, that were missed during floor sweeping/dust mopping procedures. Although the debris tray should be emptied at the end of every cleaning procedure, it is best practice to check to make sure the tray is empty before using the machine each day. Leftover items can cause the tray to get clogged or overflow. Additionally, leftover debris such as food particles can cause mold and foul smells.
Drain Solution and Recovery Tanks
There are two separate tanks on your auto floor scrubber; one for cleaning solution and one to collect the dirty solution that is removed from the floor. Both of these tanks must be emptied at the end of every cleaning procedure.
1. Empty and clean the recovery tank.
Now it’s time to get rid of all that dirt you’ve just cleaned off the floors. Make sure your machine is turned off before you empty the recovery tank. Then, straighten the pipe so you can remove the cover. Finally, keep the pipe in a drain while you empty the tank. Be sure your recovery tank is clean and empty before storing your floor scrubber and it will be ready and waiting for you next time. Clean shut-off filters and then leave lids off so that they can air dry.
2. Empty and rinse the solution tank.
Solution tanks should be emptied as well. Leaving the solution in the tank will gum up filters and affect performance. Drain the tank of any leftover cleaning solution and then rinse it thoroughly. Be sure that no residue remains so that you avoid any long-term issues with build-up, and to avoid tainting the clean water you’ll put in the next time you use your machine.
Clean the Recovery Tank
Always empty the dirty water tank each time you’ve finished cleaning. Then leave the drain hose open on the floor and flush the tank with clean water this clears any residues and avoids a build-up of sludge in the water tank helping prevent drain hose blockages.
Once you’ve finished cleaning, be sure to empty both the recovery tank and the solution tank. Make sure your industrial floor cleaning machines are turned off before doing this. After emptying the tanks, rinse and clean each one. Residue build-up can cause long-term issues in terms of corrosion and chemical damage.
Clean the solution tank filter, brushes, pads, and squeegee blade
Remove any dirt or debris from the solution tank filter by rinsing it with water. Then, just as you did before using the janitorial equipment, assess the condition of the brushes, pads, and squeegee blade. Rinse each part, or replace them if necessary. Be sure to invest in the right brushes or pads for your specific floor type
Wipe down the entire machine
Using an all-purpose cleaner and a slightly damp cloth, wipe down the industrial floor cleaning machine. Avoid using too much water and pat dry after cleaning to prevent water damage. If you aren’t sure whether or not a certain cleaner is suitable, check the instruction manual.
Chemicals left in the solution tank for too long will become ineffective. Additionally, sometimes when chemicals are left they can gel up and block solution/water flow. As mentioned earlier, the recovery tank holds the dirty water and chemicals that are removed from the floor.
Forgetting to empty this tank at the end of a procedure can lead to a sludge-like mixture in the tank. The sediment and dirt that are removed from the floor will settle and fall to the bottom of the recovery tank. If the remaining water dries, this mixture will harden at the bottom of the tank, making it difficult for your staff to remove.
Additionally, this leftover mixture can cause odors that will linger in the tank even after the tanks are cleaned.
Brushes/pads should be cleaned and rinsed after each use.
Wipe the Squeegee Blades
Use a damp rag, cloth, or hose to clean off the rubber blades paying attention to removing any build-up from the front edge of the squeegee blade
· Check the Squeegee Blade
· Visually inspect the rubber blades to make sure it’s free of any cuts, tears, or excessive wear. Rubber squeegees in good condition help leave your floor drier, cleaner and safer.
Clean the Solution Filter
Most scrubber-dryers whether ride-on or walk-behind have a solution filter to avoid any debris from the clean water tank traveling through the solution pipework and blocking it up. Remove the solution filter and flush it out under a sink or a tap.
Vacuum ports and squeegees should be cleaned after use before soils dry.
Jets should be maintained regularly so that they spray evenly. Soak them in a mixture of vinegar and water overnight to keep down mineral deposits.
Clean Squeegee Assembly
Squeegees help the auto scrubber remove water and cleaning solution from floors during a cleaning procedure. The assembly typically has corrosive parts that should be rinsed and wiped after every procedure to reduce rusting and corrosion. The squeegee itself should also be removed, washed, and wiped dry for two reasons. The first is that dirt and grime can sometimes get stuck on the squeegee, creating lines or spots as it is dragged across the floor.
Secondly, there are different types of squeegee blades, and not all are resistant to chemicals and oils. For example, gum blades should not be used with oily substances.
If you notice that the blade is visibly worn, remove the squeegee blade and flip the blade over. There are typically four sides to a blade that can be used. Once all four sides of the blade have been used, it should be replaced.
If all sides seem worn, replace the blade before use.
Should the blade be worn or have tears, it will not effectively remove water and cleaning solution from the floor which can create a slippery, hazardous situation for building occupants. Always store the squeegee in the raised position. It should not be resting on the floor as this can cause the blade to become uneven or damaged.
Scrubbers
Auto-scrubbers are the workhorse of the janitorial industry. They take the place of wet mopping large buildings, doing the daily task of removing soil to keep floors clean. They apply cleaning solution onto the floor, use high-speed motor-powered brushes to scrub and loosen debris, and then suction up the dirty solution off the floor.
The pad driver with the pad and brush should be removed from the machine so that you can easily access the floor pad or brush. Pads and brushes are used to scrub the floor of dirt and grime, however, after use, dirt can be ingrained in the pad or stuck in the brush bristles.
Thoroughly wash the pad or brush after each use.
Removing excess dirt and debris from the pad or brush will allow the machine to provide the best cleaning. It will also reduce the chance of cross-contamination between procedures, especially if the machine is being used in different areas of facilities. If the pad is torn or has excessive wear, replace the pad.
The floor pad or brush should not be stored on the ground. In most cases, this requires you to remove the pad driver and pad or brush from the machine for storage.
3. Remove and clean the solution tank filter.
You should always clean the filter when cleaning your solution tank. This gets rid of any dirt and stops it from causing problems with the system. Cleaning the filter is as easy as rinsing it with pure water. You’ll be done in minutes and your scrubber will be ready to go the next time you need it.
4. Remove and clean the brush or pad.
Your brush or pad wasn’t worn out before you started cleaning, but what condition is it in now? Be sure to check. If it looks worn out, replace the brush or pad so that your machine is ready for its next shift. Is the brush or pad still looking good? Simply give it a thorough clean so that yesterday’s dirt doesn’t end up on tomorrow’s floors.
5. Clean the squeegee blade.
SQUEEGEES
If you are not getting the results you want the answer may be in what type of squeegees you have on the scrubber. Are you using Gum rubber, Urethane, Linatex or Neoprene? Maybe something else. The density of the material in the squeegees may make all the difference in the cleaning results you are getting. Make sure they are cleaned after each use to remove the dirt buildup. Also, another good idea is to wipe the blade every few minutes while you are scrubbing to ensure the buildup doesn’t occur during use.
If you are not getting the results you want from your automatic floor scrubber it may not be the fault of the scrubber. There are a lot of other factors to consider. Chemicals, finishes, coatings, pads, brushes, type of soil on the floor, squeegee material, and routine maintenance are just a few of the possibilities. An experienced supplier with the knowledge and training programs you need can ensure you get the cleaning results you wish to achieve.
To clean your squeegee blade, rinse it thoroughly with water and make sure you remove all the dirt. Is it worn out? Turn it over if you’ve only worn one side of the squeegee blade. But if it’s been worn on both sides, replace it with a new one.
6. Clean the machine.
Your industrial floor scrubber will benefit from a good scrub down after its shift. You’ll need an all-purpose cleaner and a damp cloth, and then simply clean the machine all over. Do the job properly and you’ll get off to a quick start the next time you clean the floors.
Remove and Clean the Floor Pad or Brush
Weekly Floor Scrubber Maintenance
Weekly, regardless of whether or not you’ve used your equipment for janitorial floor cleaning, you should assess the condition of your batteries. This includes checking the fluid level, looking for loose or corroded cables, and cleaning battery tops.
Cleaning battery posts and connections with a baking soda and water solution can help prevent corrosion. During application, do not allow the solution to enter the battery cells. Remember, batteries are dangerous. Wear gloves and avoid contact with battery acid when caring for your equipment.
Monthly Floor Scrubber Maintenance
Monthly, you should perform a full assessment of your janitorial equipment. This involves checking for any issues and then performing any necessary floor scrubber repairs. First, look for any leaks and tighten loose fasteners.
Second, lubricate as needed. Apply silicone spray or approved grease to pivot points or other areas as needed. If you have questions about whether or not a certain lubricant is suitable for your janitorial equipment, check the manual or contact your manufacturer.
Third, flush the solution system. While your machine is situated over a floor drain, pour three gallons of hot water and alkaline detergent into the solution tank. Run the machine with solution control on for about 45 seconds. Then, turn off the machine. Let it sit overnight before draining the remaining solution and rinsing the tank with water.
Finally, perform a quick visual assessment of the entire machine. If any issues are found, take the equipment out of service until the floor scrubber repairs are complete.
Vacuums
The biggest enemy to hard floors is sand and dirt, which can act like sandpaper when tracked in on the bottom of people’s shoes. That’s why walk-off mats at a facility’s entrance are a must for protecting hard floors from damage. Cleaning crews should vacuum those mats daily (and more during inclement weather) to keep them from becoming full and dirt and debris from spreading around the building. Vacuums can also be used for daily cleaning of hard floors instead of a dust mop or broom. Not only do they make quicker work of cleaning, but they are also often more effective because they actually suction up and remove dust and soil rather than just pushing it around.
WEEKLY CHECKS:
1. Battery water levels: low water levels can cause short run times or charger refusing to charge.
2. Check squeegee blade condition: Worn blades can leave streaks and solutions that may need to be mopped up after the unit is run, requiring more time to get floors cleaned.
3. Pad replacement: pads wear out and can tear apart or lose balance, causing premature bearing and other parts to wear.
Conclusion:
With these key maintenance tips, you’ll be able to prolong the life of your machine and achieve a better return on your investment. Regular maintenance requires attention both before and after use. Before a cleaning procedure, inspect the machine for damage or any leftover debris. After a cleaning procedure, thoroughly clean the wear and tear parts of your machine. Do not forget to clean parts that are likely to corrode from contact with cleaning solutions or salts.
Make sure you are dealing with suppliers that can offer the education and training to achieve the results you want.
